How to Add a Beneficiary on NSDL Connected Banking
This guide walks you through adding a new beneficiary (contact) to your NSDL Payments Bank Current Account on the Bulkpe platform.
NSDL Connected Banking is a Payments Bank current account linked directly to your Bulkpe dashboard, enabling you to initiate payouts seamlessly from your NSDL account. Once a beneficiary is added and verified, you can use the contact for instant payouts.
⏱ Estimated time to complete: 3–5 minutes
Prerequisites
Before you begin, ensure the following are ready:
- Active Bulkpe account with an NSDL Current Account linked
- Beneficiary's full name, bank account number, and IFSC code
- Access to the NSDL-registered mobile number for OTP verification
Step-by-Step: Adding a Beneficiary
Step 1. Log in to your Bulkpe dashboard at app.bulkpe.in
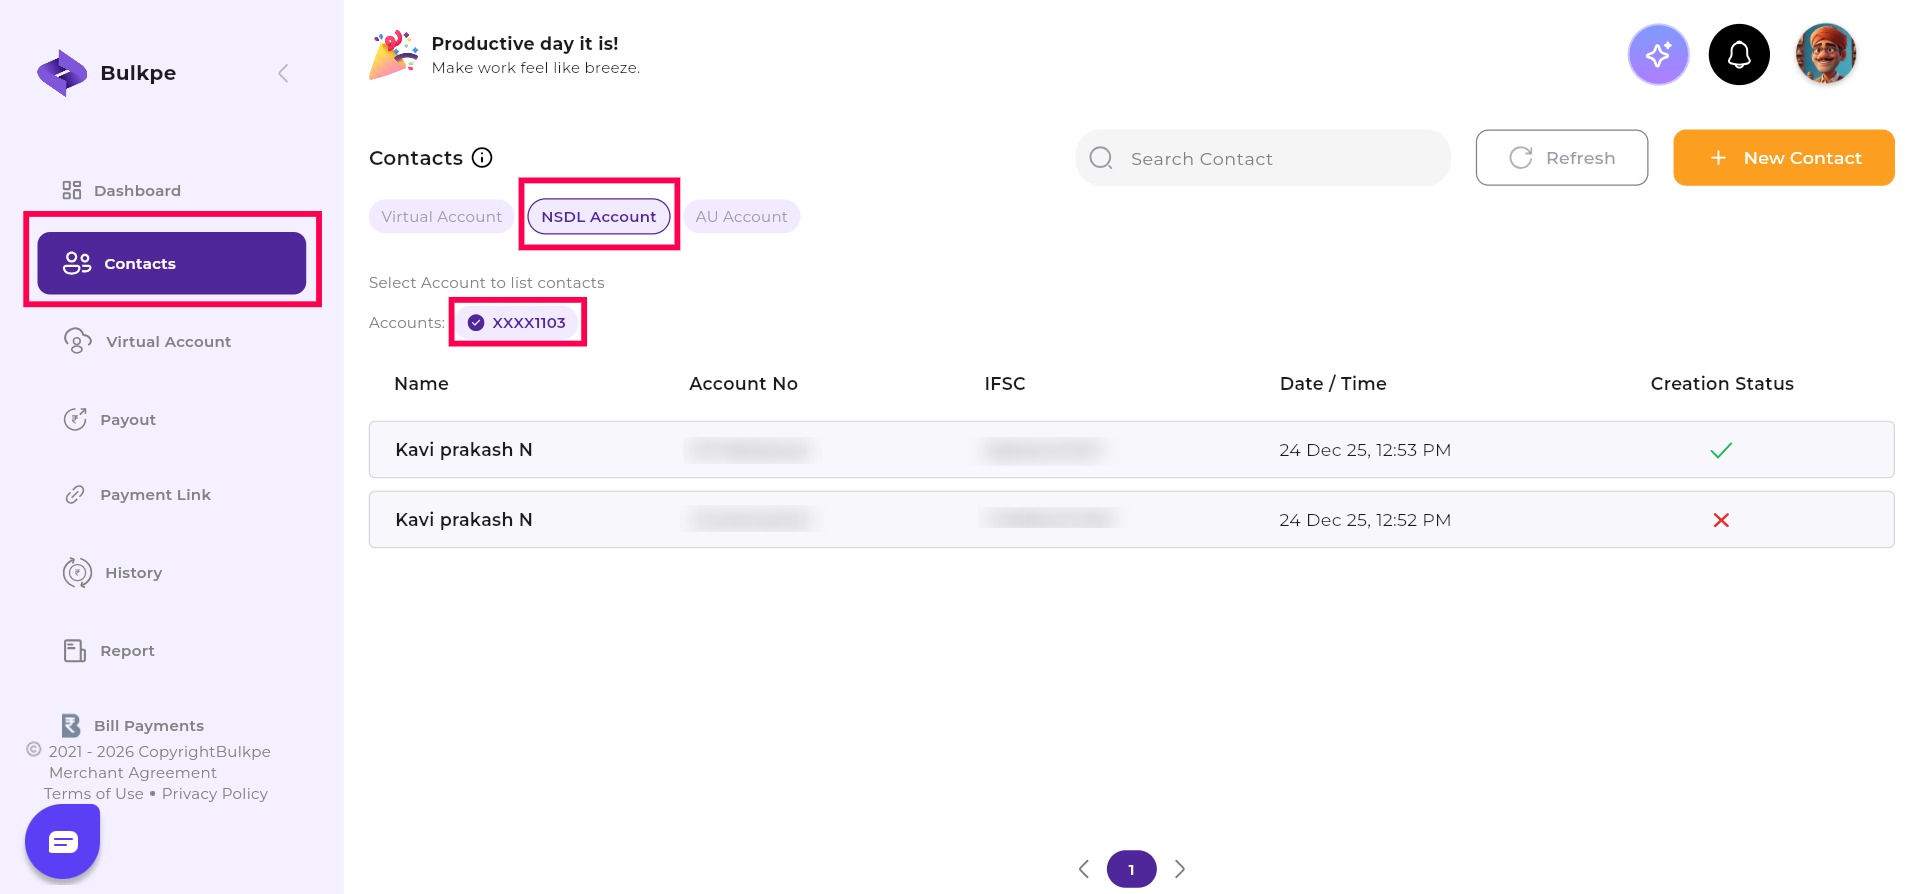
Step 2. Navigate to Contacts from the left sidebar.
Step 3. Select the NSDL Account tab at the top.
Step 4. Choose your linked NSDL account (e.g., XXXX5341) from the Accounts dropdown.
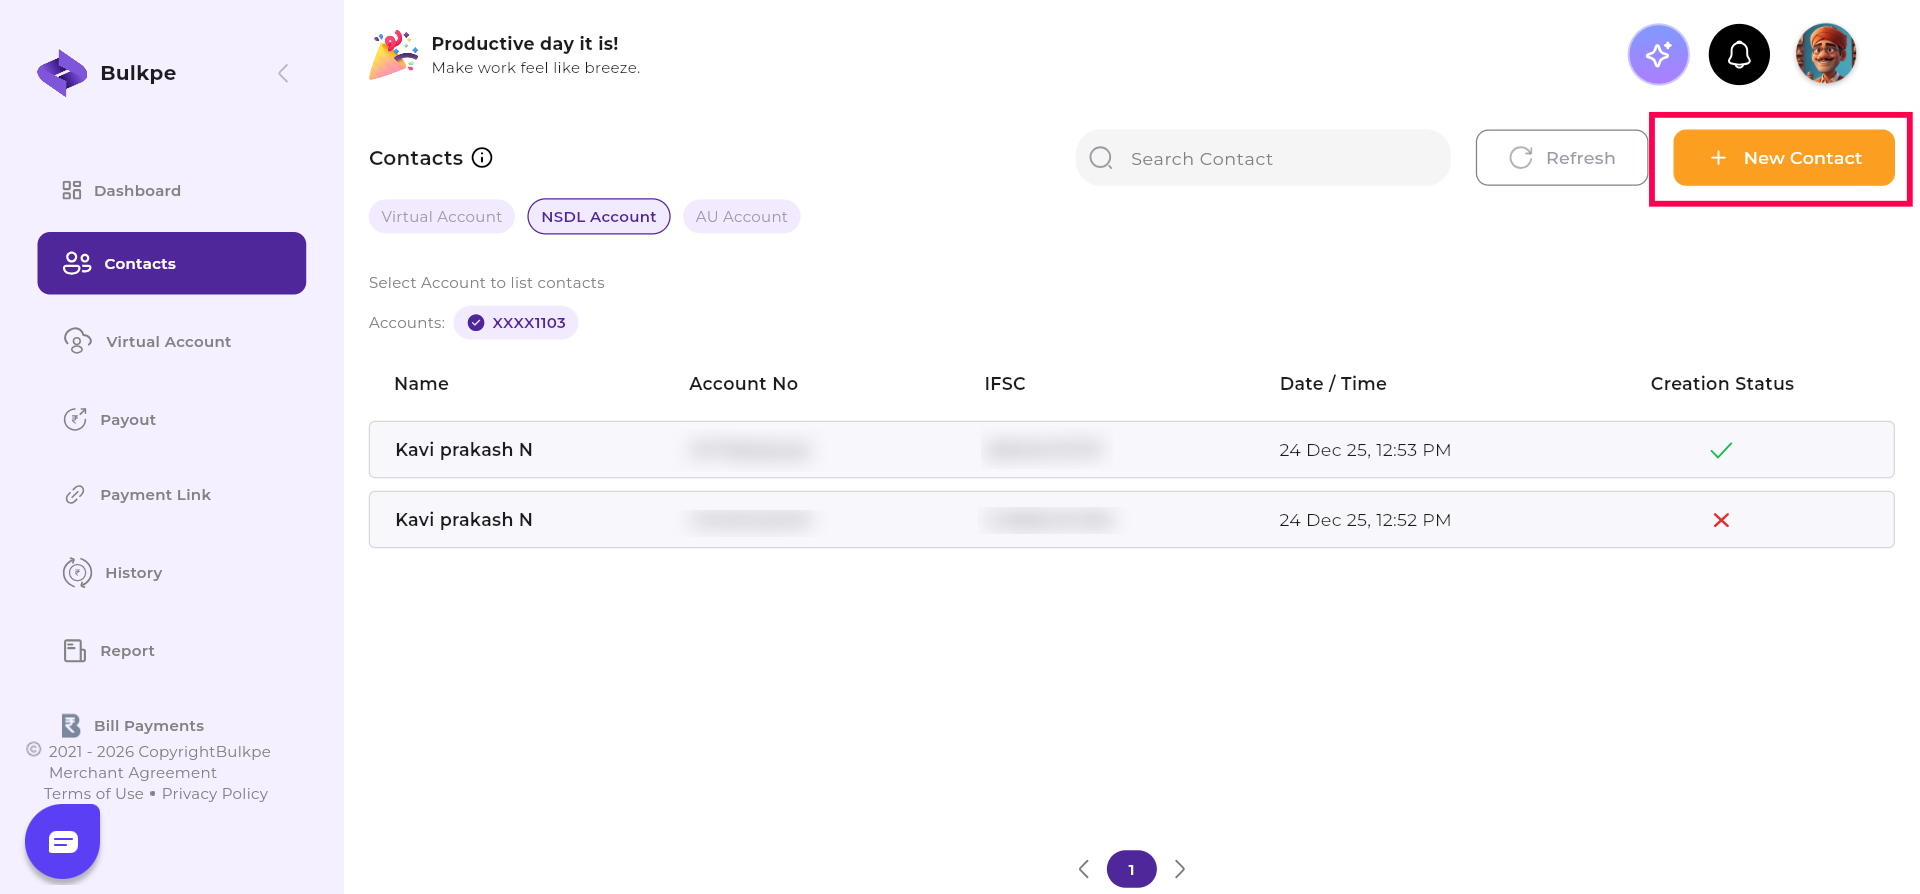
Step 5. Click the + New Contact button (top right, orange).
Step 6. Enter the following beneficiary details:
- Full Name
- Account Type (Current / Savings)
- Account Number
- IFSC Code
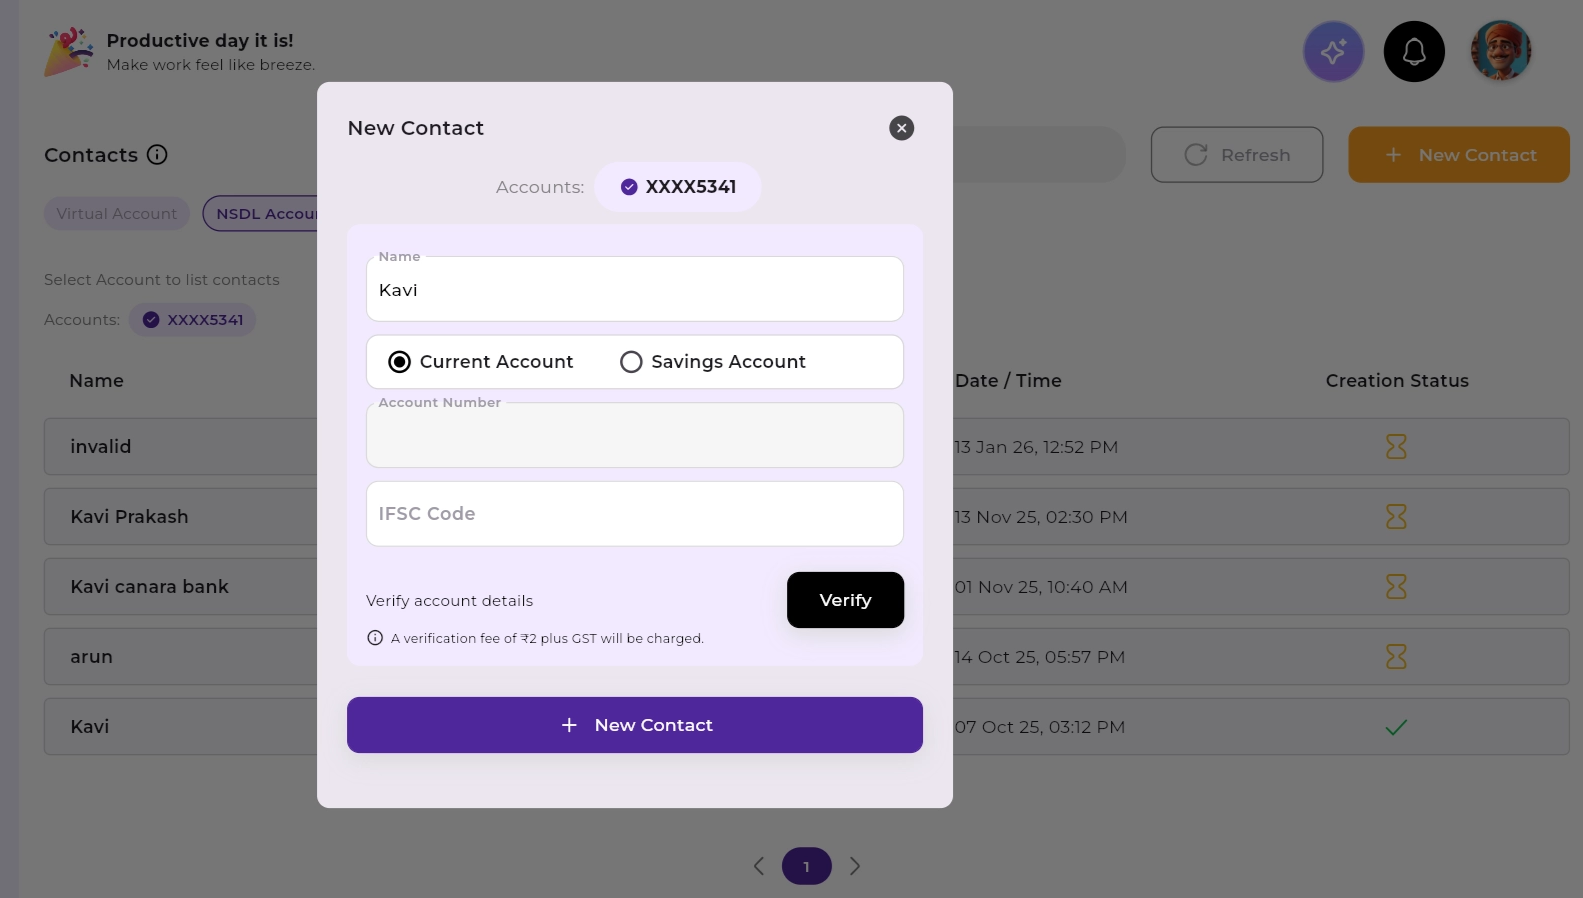
Step 7. Click Verify to validate the account details.
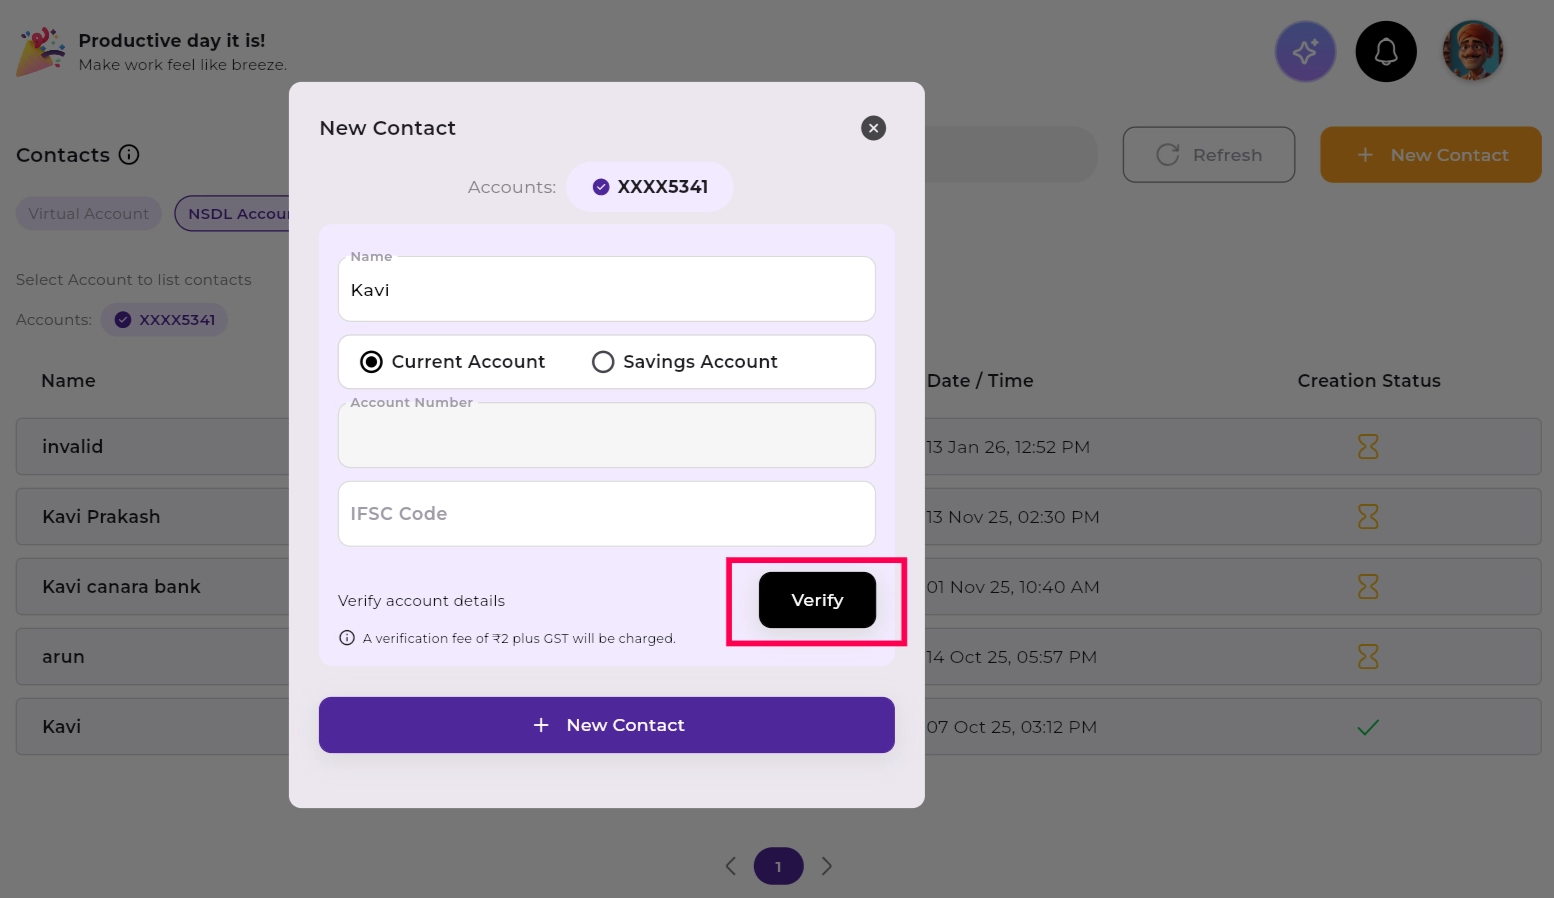
Account verification is optional but recommended. A nominal fee of ₹2 + GST applies if you choose to verify. Verifying the account helps avoid failed payouts due to incorrect beneficiary details.
Step 8. Once the account details are verified, click Submit to proceed with adding the contact.
After submitting, you will be automatically redirected to the NSDL Connected Banking portal to authorize the beneficiary addition.
You will be redirected to the NSDL Connected Banking portal to complete authorization. Ensure you have access to your NSDL-registered mobile number to receive the OTP before proceeding.
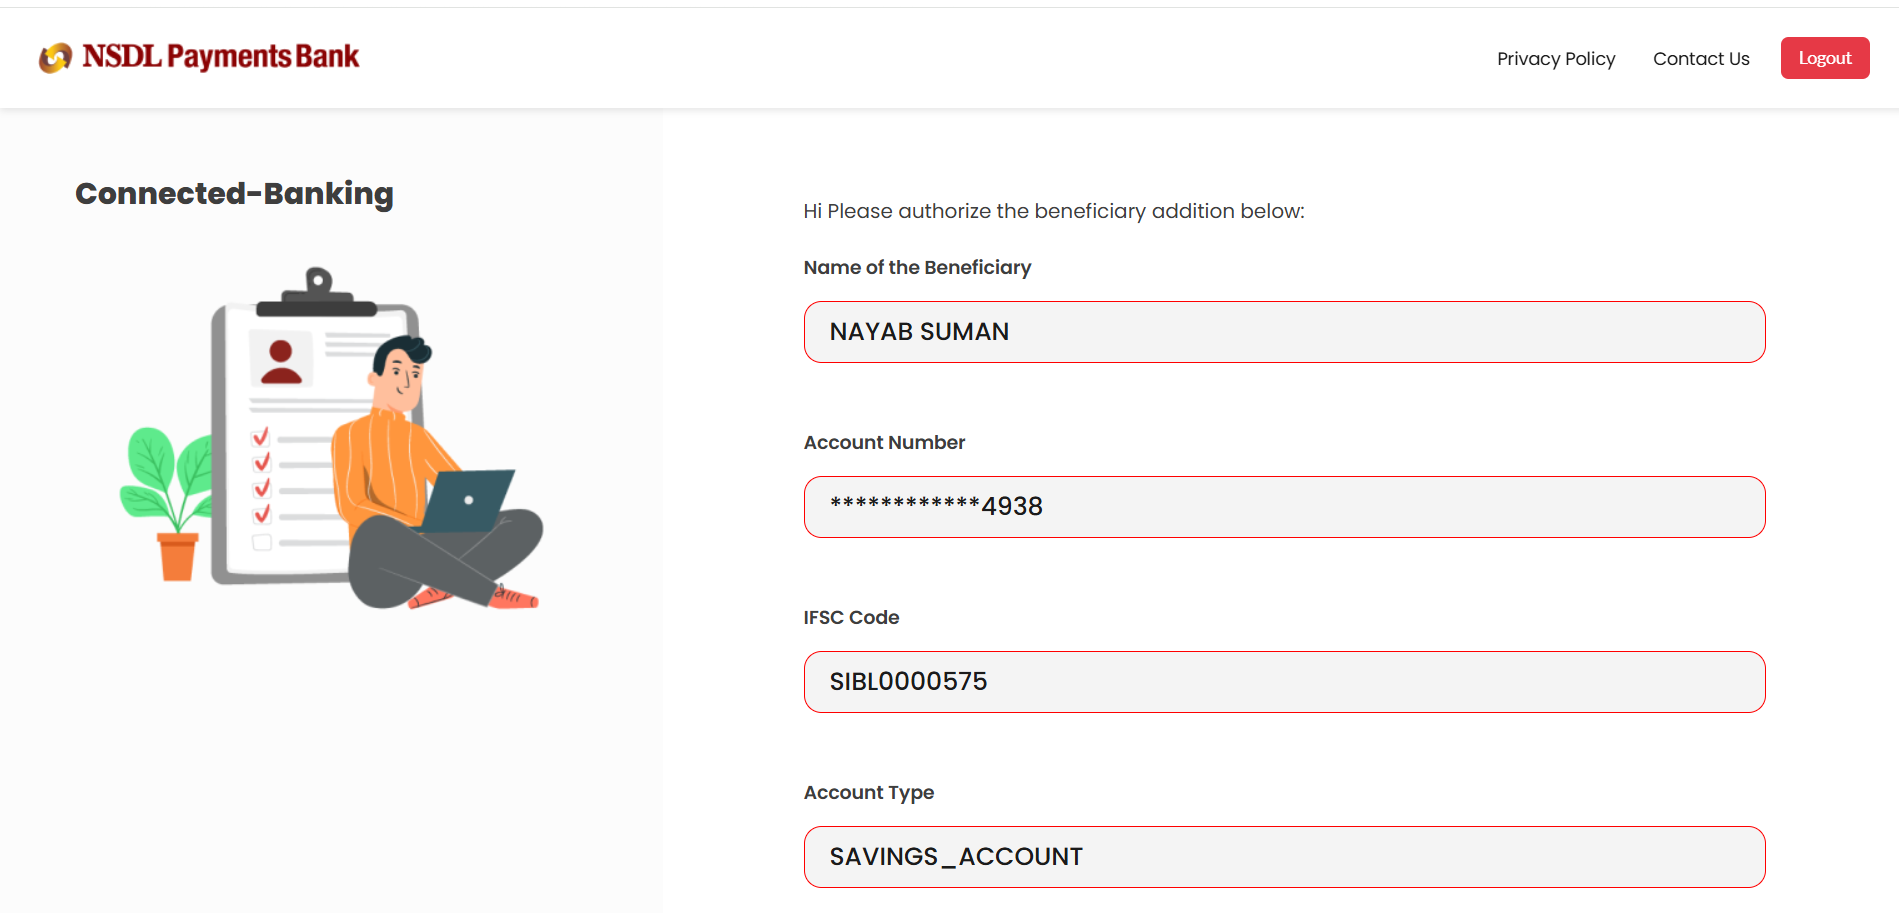
Step 9. Review all pre-filled beneficiary details carefully on the NSDL Connected Banking page.
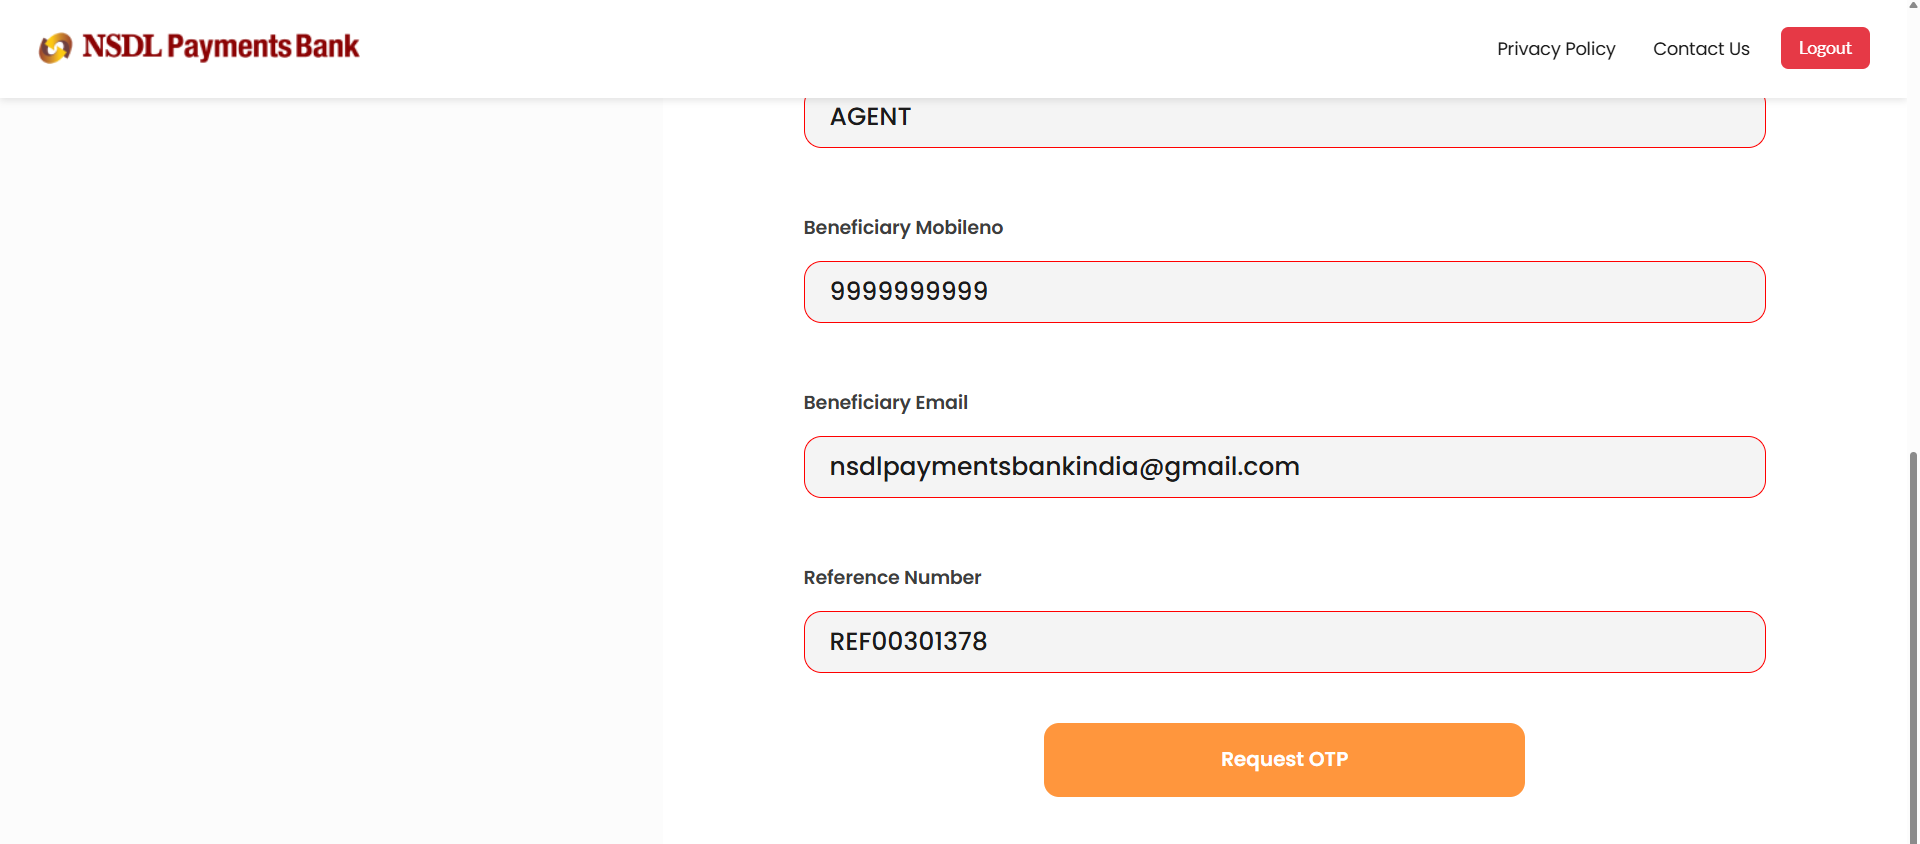
Step 10. Click Request OTP to receive a one-time password on your NSDL-registered mobile number.
Step 11. Enter the OTP when prompted.
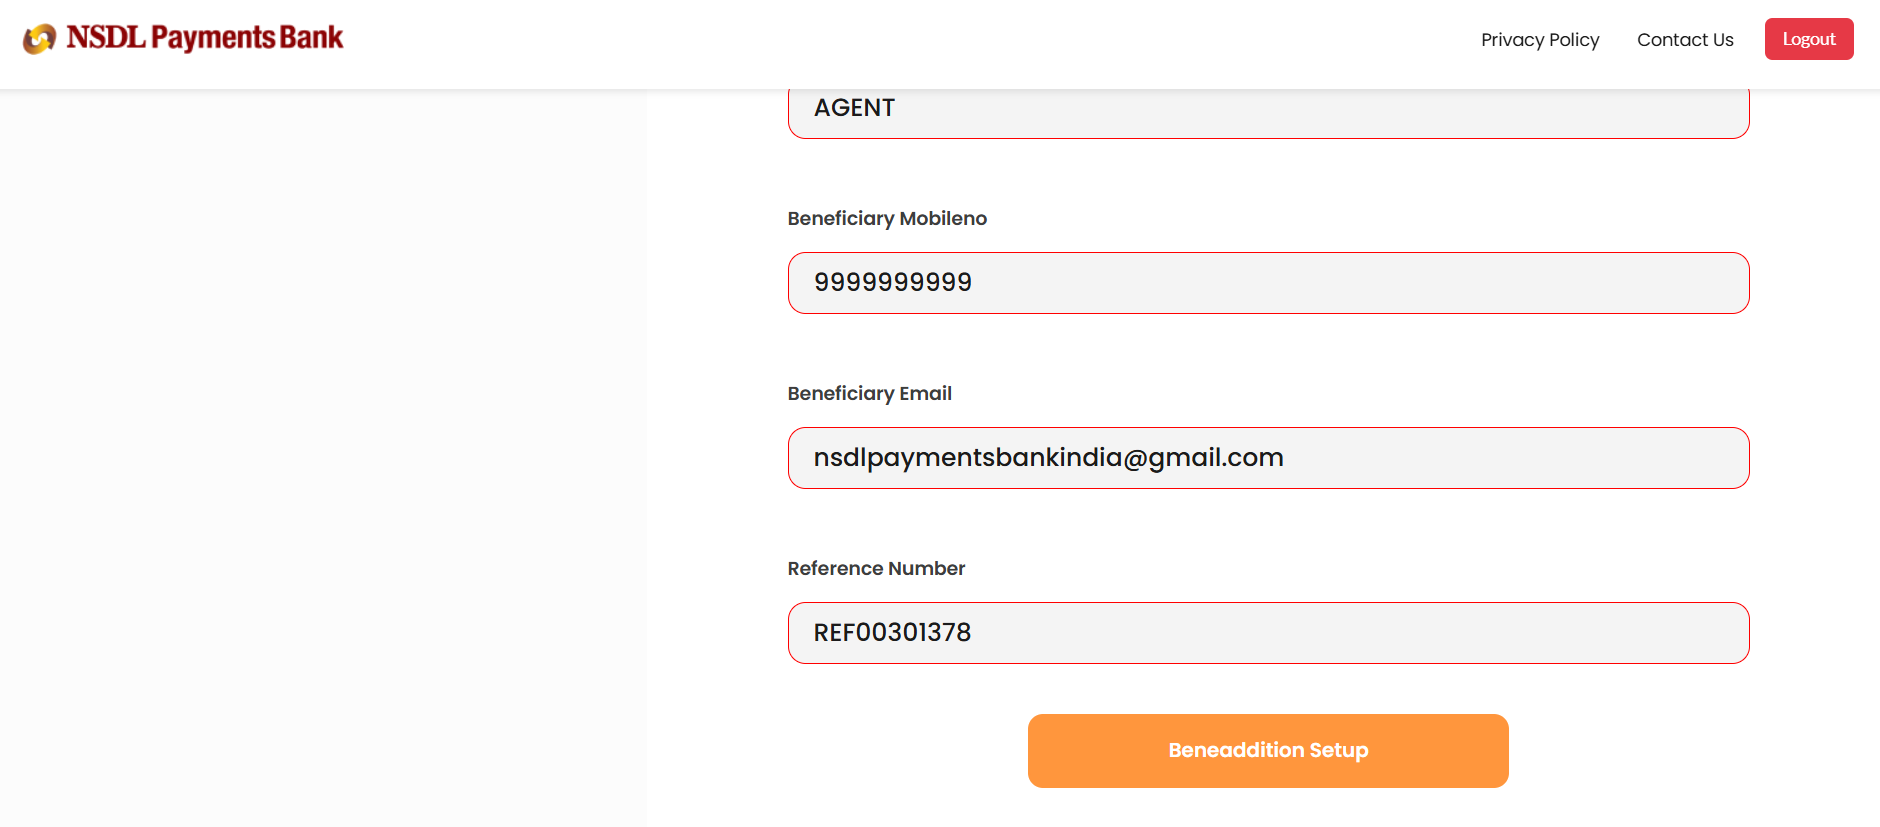
Step 12. Click Beneficiary Addition Setup to confirm and complete the authorization.
Step 13. A Beneficiary Addition Successful confirmation banner will appear at the bottom of the page.

Step 14. You will be redirected back to Contacts on Bulkpe. Check the Creation Status column to confirm the beneficiary has been added successfully.
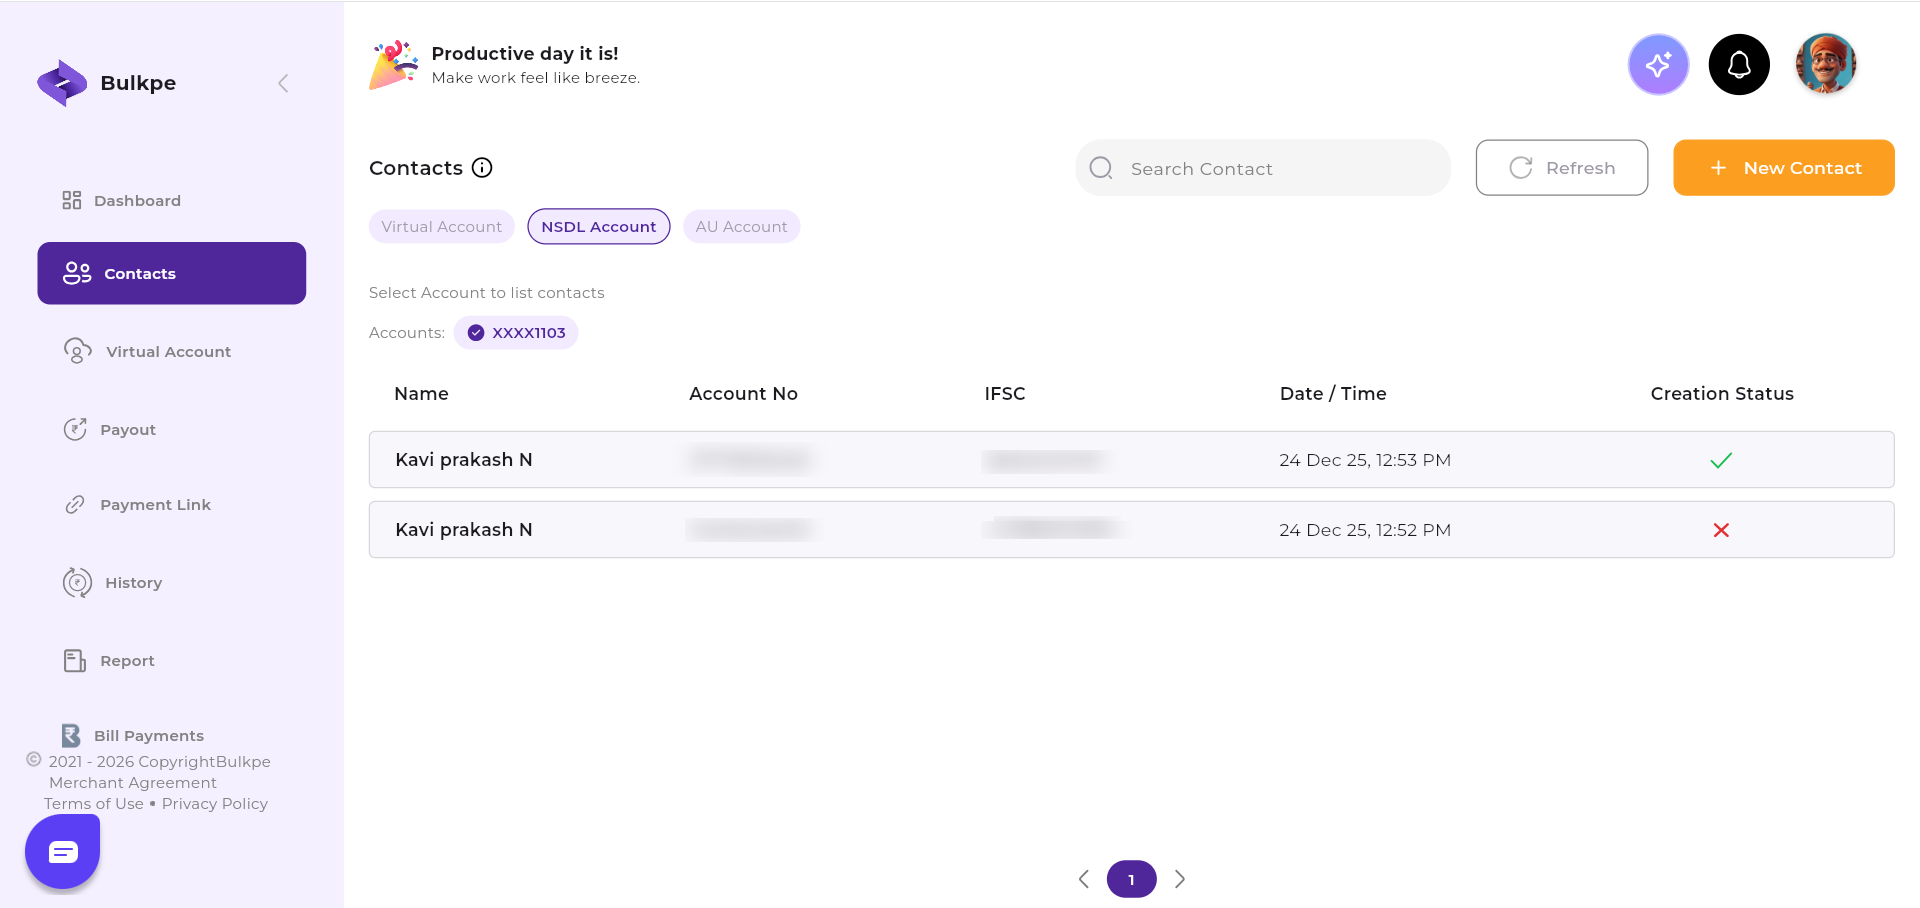
Contact Creation Status Reference
| Status | Meaning |
|---|---|
| Pending | Beneficiary addition is awaiting NSDL authorization. Please wait and refresh after a few minutes. |
| Active | Beneficiary has been successfully added and is ready to receive payouts. |
| Failed | Authorization was unsuccessful. Please retry or contact Bulkpe Support with your Transaction ID for assistance. |
Need further assistance? If you face any issues during beneficiary creation, contact Bulkpe Support with your Bulkpe Registered Mobile Number for further investigation.